


 1 Why Harley Touring Suspension Feels Unstable at High Speed (Fix Guide)")
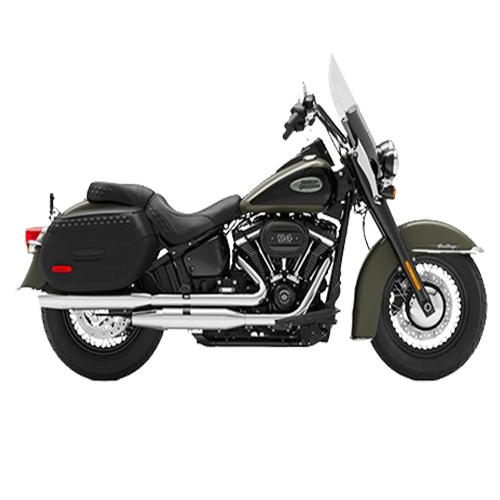
Harley-Davidson touring platforms like the Road Glide and Street Glide can feel rock-solid at moderate pace—and strangely vague when the speed comes up, the pavement gets wavy, or the bike is loaded two-up with luggage.
If you’re evaluating “performance suspension” for a touring bagger, the fastest way to get clarity is to separate two questions:
Is the chassis setup giving the suspension the travel it needs to work? (sag, preload, load distribution)
Does the damping system control that travel consistently? (force–velocity behavior, heat stability, repeatability)
This article is an engineering buyer’s guide: how to diagnose the instability, how to compare solution types, and how to validate that a change is actually an improvement.
Why do Harley-Davidson touring motorcycles feel unstable at high speed?
Most “high-speed instability” complaints on heavy touring bikes cluster into two feel descriptions:
Wallowing in long sweepers: the bike feels like it takes a set… then slowly oscillates or drifts off line.
Rear-end float: the rear feels light or disconnected after a bump, especially when loaded.
These sensations usually aren’t a single part failure. They’re a system-level outcome of ride height, travel usage, and front–rear damping balance.
Before we get into the engineering details, it helps to map these symptoms to the upgrade paths you can actually compare.
Touring suspension upgrade options: what you can actually compare
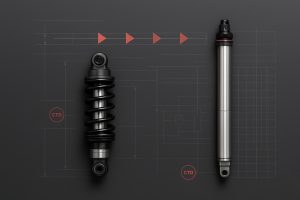
Most riders search “best suspension for Harley touring motorcycles” as if there’s a single answer. In practice, you’re choosing between solution types with different trade-offs in adjustability, heat control, serviceability, and cost.
Below is a comparison layer you can use before getting lost in clicker counts or valving marketing.
Quick comparison: common Harley touring suspension upgrade paths
Upgrade path | What it changes | Best for | Typical trade-offs | What to verify in setup |
|---|---|---|---|---|
Stock adjustment only | Preload and (if equipped) damping settings | Mild instability; consistent solo load | Limited correction range; can’t fix wrong spring rate | Measure sag with your real payload; confirm you still have usable compression travel |
Heavier-rate springs / better spring match | Spring rate and load support | Two-up + luggage; frequent load swings | Can feel harsh if damping isn’t matched; requires correct preload window | Static + rider sag in your common load case; ride height before/after |
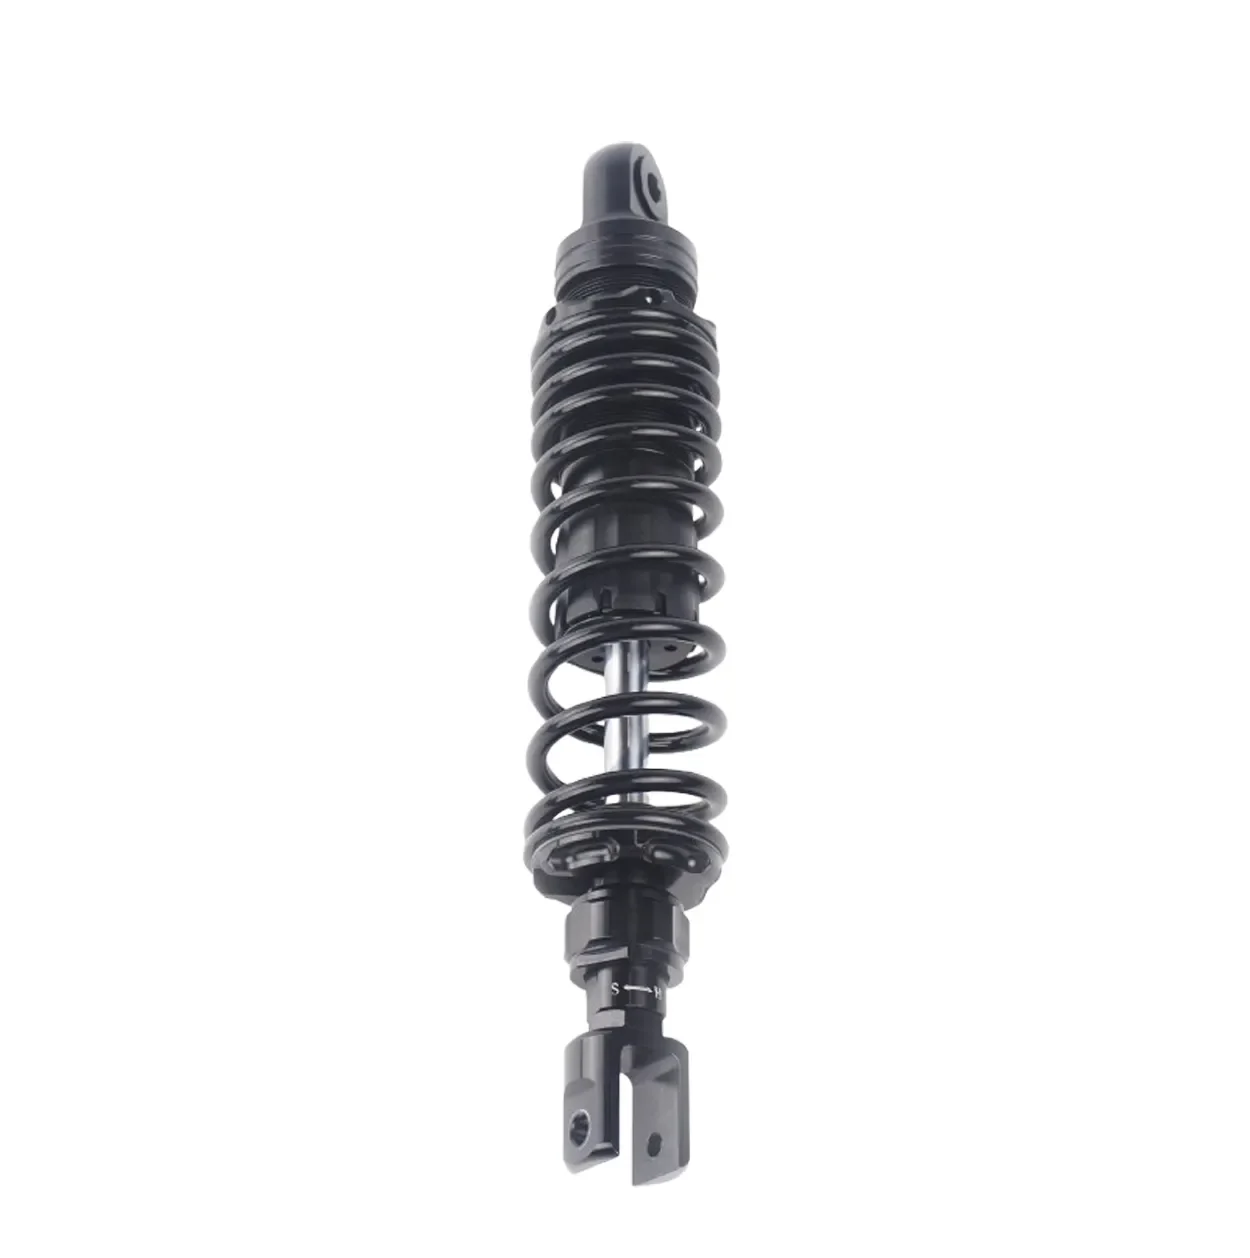
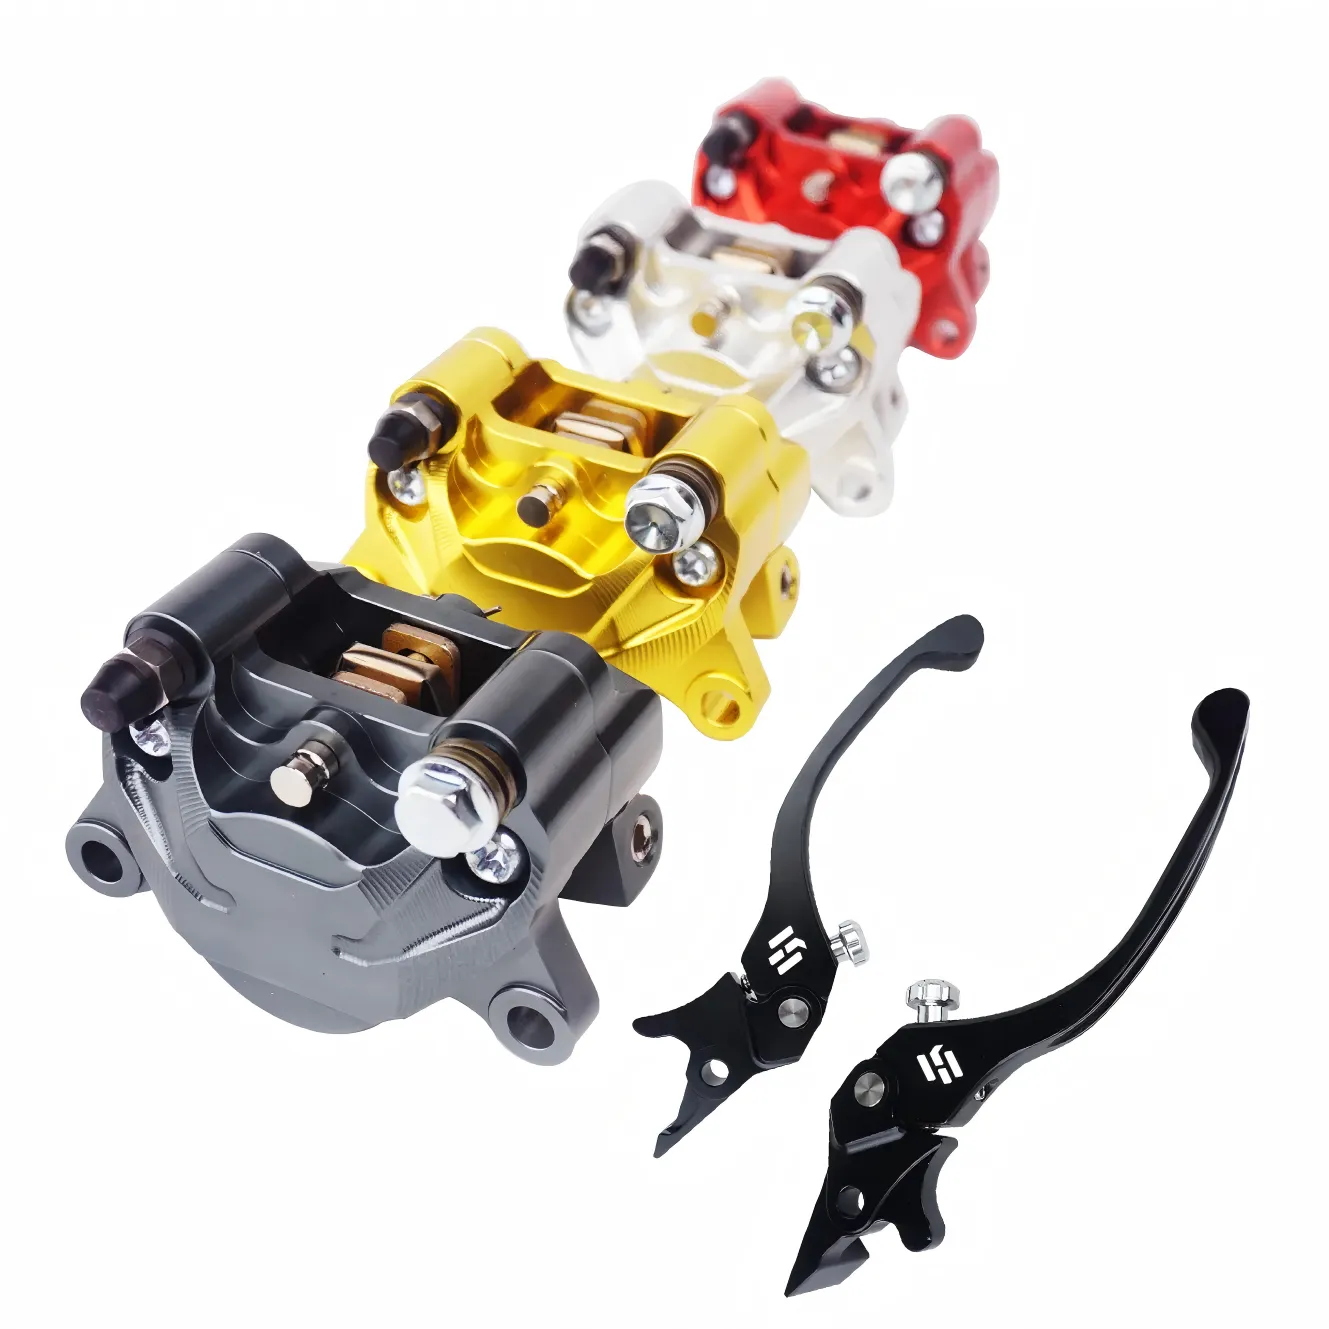
Emulsion shocks | Basic aftermarket shock upgrade | Riders wanting better control than stock without a reservoir | Less heat capacity than reservoir designs; fade risk on long loaded days | Heat behavior on long rides; rebound control after repeated bumps |
Remote reservoir shocks | More oil volume + better thermal/cavitation margin | High-speed stability issues; sustained loaded touring | Higher cost/complexity; packaging space | Consistent feel mile 10 vs mile 200; repeatable adjuster response |
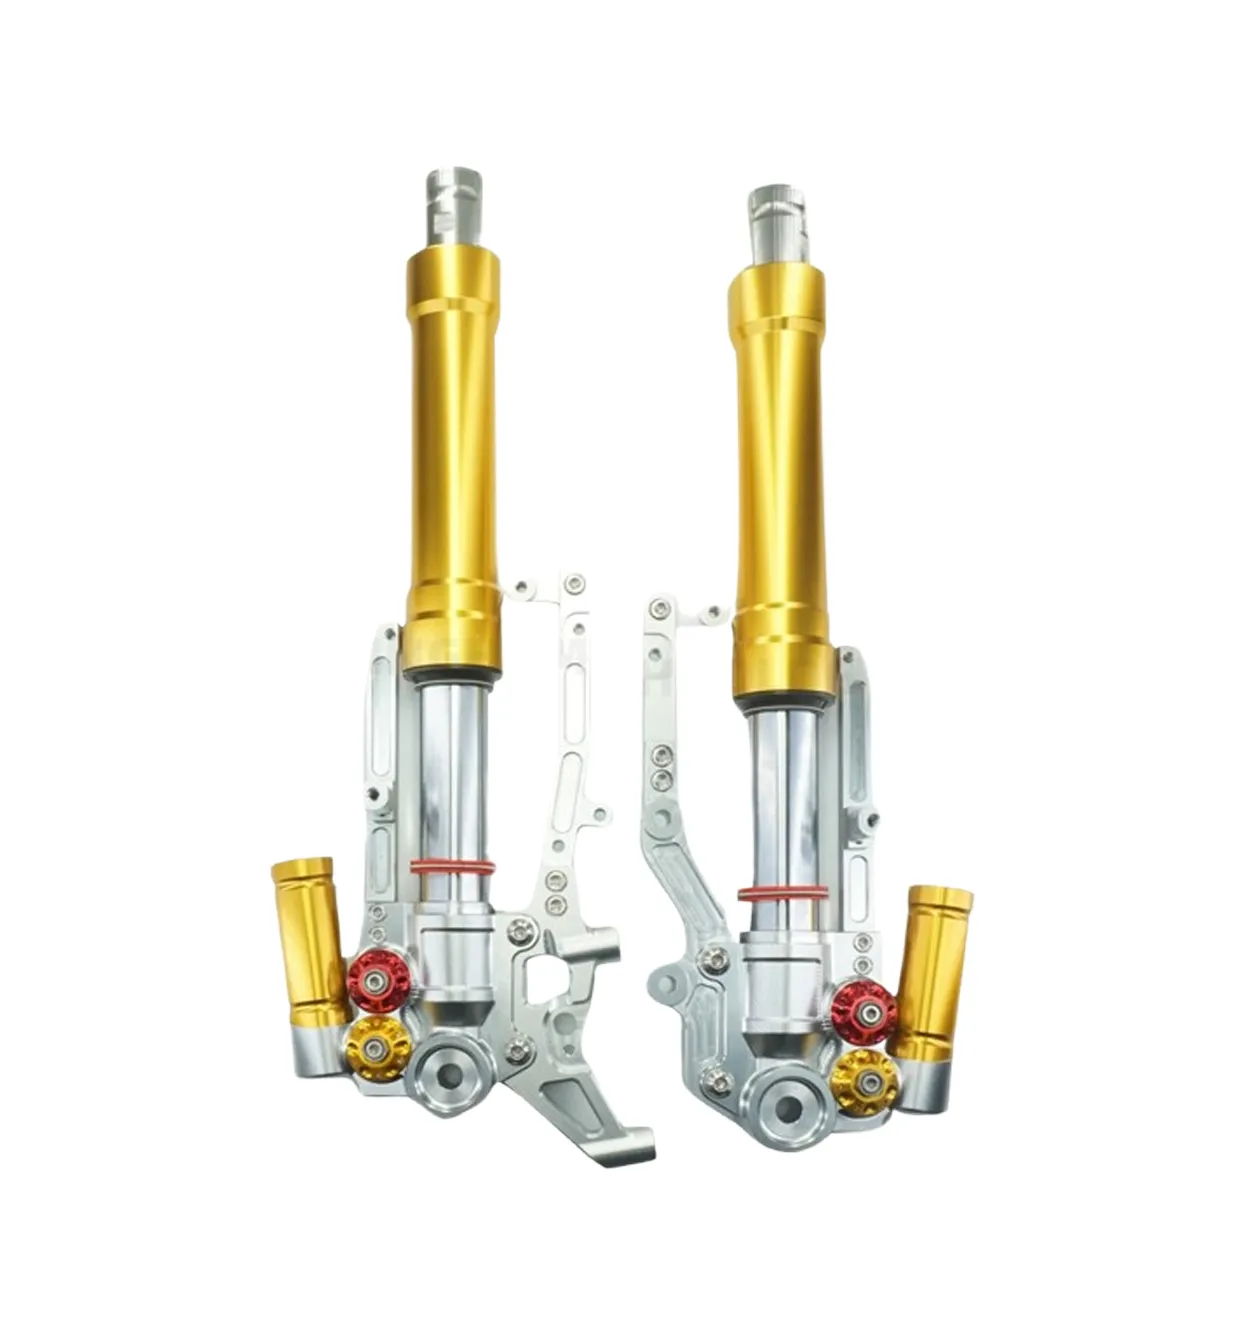
Cartridge kit / fork revalve | Front damping control and balance | Brake-dive control; front–rear balance problems | Requires competent install/tuning; cost varies | Front sag and dive control; matching front/rear attitude |
Full performance system | Coordinated front + rear solution | Riders chasing stability, comfort, and repeatability together | Highest cost; tuning time required | Front–rear balance, sag targets, and test loop repeatability |
Selection guide: match the option to your symptom and load
How to choose a suspension upgrade path
Use this simple decision framework to keep the comparison stage clean:
Define the load case you’re optimizing for (solo, two-up, two-up + luggage). If you can’t name it, you can’t tune for it.
Get ride height and sag in range first. If the bike is sitting too deep in travel, almost any shock will feel “better” for a moment—until it doesn’t.
Pick the solution type that fixes the limiting factor:
If you’re running out of travel under load → spring support and correct preload range.
If it gets vague later in the day → thermal capacity (often reservoir designs) and fade resistance.
If the bike changes attitude under braking/throttle → front–rear balance (don’t upgrade rear-only by default).
With that framework, the tables above become a shortlist tool—not just a menu.
Your primary symptom | Your most common load | Usually points to | Why |
|---|---|---|---|
Wallowing in long sweepers | Two-up + luggage | Spring support + rebound authority | The bike is sitting deep in stroke and can’t settle between long-wave inputs |
Rear-end float after bumps | Mixed loads | Better rebound control and correct sag window | Too-fast/too-inconsistent rebound feels like “disconnect” |
Feels fine at first, vague later | Long loaded rides | Thermal capacity upgrade | Heat drift changes the damping curve over time |
Excessive brake dive / front push | Any | Front upgrade or revalve + balance | Fixing rear-only can worsen attitude and weight transfer |
Once you know which type you’re comparing, the technical sections (force–velocity behavior and heat stability) become decision tools—not distractions.
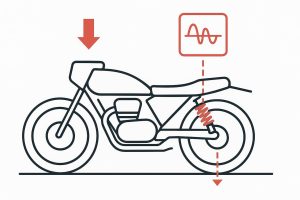
Wallowing and rear-end float: the core stability problem in heavy cruisers
A touring bagger has high mass, long wheelbase, and often long-travel targets for comfort. When the rear is too low in the stroke (excessive sag under load) or the damping is too under-controlled, the chassis can’t “finish” one movement before the next road input arrives.
The common loop looks like this:
Load + speed increases pitch and squat forces.
Rear shock sits deeper in travel, reducing available stroke.
The bike starts running closer to its bump zone and has less margin to absorb longer-wave road undulations.
Rebound control isn’t strong/consistent enough to settle the mass between inputs, so the chassis oscillation grows into wallow.
Weight transfer and long-travel suspension limitations
Long travel is great—until you spend most of it just holding the bike up.
On a loaded Road Glide/Street Glide, if sag and ride height aren’t set for the real payload, the damper is forced to work in the wrong part of its stroke and at higher average temperatures. That’s when you get the classic “it feels fine for 20 minutes, then gets vague” report: you’re seeing thermal drift plus diminishing effective travel.
Harley davidson performance suspension: what actually works on touring bikes
One important note: the chassis and the damper are a pair. If sag and ride height aren’t set for the real payload, the damping system is forced to work in the wrong part of the stroke—so you end up judging shocks based on a setup error.
Here’s the evaluation mindset: solve the setup problem first, then decide whether the hardware can deliver the damping behavior you need.
OEM suspension limitations in high-load scenarios
OEM touring suspension is often tuned for a wide range of riders and comfort expectations. In practice, that means it can fall short in three engineering areas that matter for high-speed stability:
Load range: springs and preload range may not cover two-up + luggage without excessive travel usage.
Damping authority: rebound control can be insufficient to settle a heavy bike after long-wave inputs.
Heat capacity: sustained high-load riding can push oil temperature up and move the damping curve.
From a pure tuning perspective, Harley-Davidson also cautions that suspension tuning must be done in controlled steps.
Comfort-tuned vs performance-tuned suspension systems
The fastest way to compare options is to define what each system is “allowed” to do:
Comfort-tuned setups prioritize low transmitted harshness. They often run lower low-speed damping (more chassis motion) and rely on travel for comfort.
Performance-tuned setups prioritize chassis control. They usually increase low-/mid-speed damping to control pitch/roll and use valving strategy to keep high-speed bump compliance reasonable.
For heavy touring bikes, the trap is chasing comfort by softening everything. A Road Glide that’s compliant but under-damped can feel safe at 65 mph and unstable at 85 mph.
Progressive damping systems for stability control
When riders say “it floats,” they’re often describing insufficient control in the mid-speed range—where the bike is responding to rolling pavement, expansion joints, and longer undulations.
A progressive damping approach tries to keep:
predictable low-speed damping (chassis control)
controlled mid-speed rise (settling mass without pogo)
managed high-speed force (avoid harsh spikes and loss of grip)
This is where the term motorcycle suspension damping system becomes practical: it’s not one clicker value, it’s the full force response across velocities.
The chassis-first checklist: sag, preload, ride height, and load distribution
Before you compare brands or shock architectures, verify the setup has a chance to work. On heavy touring bikes, stability usually improves faster by getting ride height + usable travel correct than by chasing damping clickers.
1) Set your payload definition
Write down the real-world load case you actually want stability in:
Solo rider + gear
Two-up
Two-up + luggage / Tour-Pak
If you don’t define this, your “best suspension for Harley touring motorcycles” search turns into a guessing game—because what’s “best” depends on the load case you’re engineering for.
2) Measure sag the way you’ll ride
You’re looking for a setup that uses travel but doesn’t live at the bottom of the stroke.
Pro Tip: Use a simple travel indicator (zip-tie on a shaft where possible) and test on the same road loop. Harley emphasizes using a familiar bumpy road and proper prerequisites like preload and tire pressure in its suspension adjustment procedure.
The intent is simple: set ride height so you have usable compression travel left when loaded.
3) Set front–rear attitude before you judge damping
High-speed stability depends on chassis attitude and weight distribution. If you raise or lower the rear significantly with preload or ride-height changes, you also change:
steering geometry feel
front contact patch loading
how quickly the bike transitions from braking to cornering to throttle
If the rear is corrected but the front remains soft/under-controlled (or vice versa), the bike can still feel vague. That’s why it’s risky to treat rear shocks as an isolated fix on touring platforms.
4) Use a repeatable test loop
Pick one short loop with:
a long sweeper (to expose wallow)
a known bumpy section (to expose float)
one braking zone (to expose dive and re-balance)
Repeat the same loop with one change at a time. If the improvement isn’t repeatable, it’s not a real fix.
Force–velocity engineering: using damping to compare options
“Better damping” is only useful if it helps you compare choices. The practical question for touring baggers is:
Will this setup settle the chassis in sweepers and after bumps without becoming harsh?
A damper dyno force–velocity (F–V) curve is one way to visualize that behavior across shaft speeds in compression and rebound.
What a force–velocity curve can tell a buyer
In practical terms, the curve helps you reason about:
low-speed damping: chassis pitch/roll control (braking dive, squat, long-sweeper settling)
mid-speed control: “float” and long-wave stability on rolling pavement
high-speed damping: sharp-bump harshness vs grip
rebound vs compression balance: returns too fast (pogo) vs too slow (packing)
If you want a quick primer on what you’re seeing on a dyno plot, Suspension Secrets’ guide to damper dyno force–velocity graphs is a useful baseline.
The key buyer check: repeatability
For touring use, “consistent” means two things at once:
The damper behaves predictably from the top of the stroke to deep travel.
The same settings feel the same on a hot day vs a cool day, and early vs late in a long ride.
If a supplier can’t explain repeatability (or how adjuster clicks map to force changes), it’s hard to compare their product to alternatives—even if the marketing sounds great.
Thermal stability and fade resistance in high-load touring
Even a well-shaped F–V curve on a cold dyno run can degrade in real touring duty.
Heat buildup and why shocks fade
As a shock cycles, it turns motion into heat through fluid shear and restriction. When the oil temperature rises enough, viscosity drops and the damping force can drift.
A straightforward engineering explanation is summarized in an Eng-Tips discussion on what causes shock fade: as oil heats, viscosity decreases, and valving effectiveness drops—so the suspension can feel progressively less controlled.
Monotube vs twin-tube (and why gas pressure matters)
You’ll see monotube and twin-tube designs discussed as if one is universally “better.” The more useful framing is: what does the architecture do for heat and cavitation margin under continuous load?
Monroe’s technical overview of twin-tube vs monotube shocks highlights three points that matter for touring:
monotube designs tend to run cooler due to construction and heat transfer
higher gas pressure can help reduce aeration/cavitation
separating gas and oil helps maintain consistent damping
For Road Glide/Street Glide use, thermal stability is not a track-only concern—it’s what keeps the bike feeling the same after hours of loaded miles.
OEM vs high-performance suspension: real-world handling comparison
To keep this practical, compare changes as behaviors you can test, not as brand claims.
Cornering stability and lean angle control
What improves when the setup is right:
the bike takes a set in a sweeper and stays there
you stop needing continuous mid-corner corrections
the rear tracks without delayed oscillation after pavement waves
If the bike still wallows after sag/preload are correct, that’s usually a rebound authority / thermal consistency question—not a “more preload” question.
Braking dive and rebound behavior
On touring platforms, braking stability is a systems test:
excessive dive shifts load forward abruptly
that can unload the rear and start the “float” sensation
rebound that’s too fast can reintroduce oscillation as the bike transitions back to neutral
As a sanity check when you’re iterating, Harley’s suspension adjustment procedure explicitly maps “bike wallows through turns” to rebound changes and “excessive brake dive” to compression changes.
Engineering validation: what to ask for (and how to judge it)
If you’re evaluating an upgrade as an engineering lead—not as a retail buyer—your differentiator is validation.
Interpreting F–V curves for performance assessment
Ask for:
F–V curves for compression and rebound
the test method (velocity sweep range, oil temperature control)
left/right unit matching (if relevant)
how adjuster clicks map to force deltas (repeatability)
You’re not hunting for “the highest line.” You’re checking whether the curve shape fits the use case and whether it is stable and repeatable.
Consistency under repeated load cycles
The simplest credibility test is repeatability:
Does the curve drift significantly over repeated cycles?
Is there visible inconsistency suggestive of aeration/cavitation?
Is hot vs cold behavior characterized?
For an example of how an OEM/ODM partner might formalize these checks (acceptance windows, hot/cold curves, and dyno verification artifacts), Kingham Tech outlines a structured process for custom motorcycle shock absorbers OEM/ODM dyno validation.
Conclusion: engineering suspension for real touring demands
“Harley davidson performance suspension” isn’t a single part number. It’s the combination of:
correct ride height and travel usage under the real payload
a solution type that matches how you ride (and how often you’re loaded)
damping behavior that settles mass without harshness
thermal stability so the behavior doesn’t drift over a long day
If you start with chassis setup and then compare upgrade paths using repeatable tests, you’ll make faster, more defensible decisions—especially for Road Glide and Street Glide platforms that spend their lives loaded and hot.