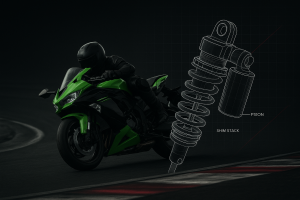


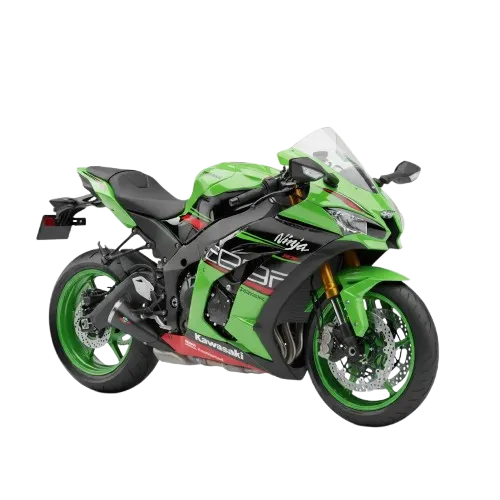

High-speed stability on a Kawasaki sportbike isn’t one “magic click.” It’s the sum of how the rear shock manages load transfer (squat), chassis attitude (pitch), and tire contact when the suspension is asked to do multiple jobs at once: drive, absorb bumps, and keep geometry predictable.
For tuners and workshops, the useful question is rarely “Is this shock good?” It’s:
Which design choices in the shock make stability tunable?
What symptoms show up when those choices are missing—or mis-set?
This article breaks down the shock-architecture levers that most directly affect stability at speed, then turns them into a workshop-facing diagnostic framework you can apply on typical Kawasaki platforms (Ninja/ZX series) without pretending every chassis, linkage, and tire behaves the same.
A quick alignment: what squat, pitch, and chatter really mean on the rear
Before talking hardware, it helps to align on the three stability problems you’re trying to eliminate.
Squat: when drive load collapses geometry
Squat is rear suspension compression under acceleration. A controlled amount is normal. The instability starts when squat becomes time-dependent (continues settling mid-corner exit) or inconsistent (changes with temperature, surface, or session length). That’s when trail and swingarm angle drift and the bike stops holding a line.
Pitch control: keeping the bike from seesawing
Pitch is the fore-aft attitude change (rear down / front up on throttle; front down / rear up on brakes). It’s not “bad”—it’s physics. The tuning problem is pitch rate and recovery: how fast the chassis moves into a new attitude and how cleanly it returns when the input ends.
Chatter: traction oscillation you can’t ride through
Chatter is a rapid oscillation in grip and load. Rear chatter at speed is often a damping/carcass/surface interaction: the tire repeatedly loads/unloads because the suspension can’t settle into a stable force state.
Pro Tip: In-shop, separate “chatter” from “hop.” Hop is usually a big-amplitude event (often rebound-related). Chatter is smaller amplitude, higher frequency, and frequently worsens as damping oil heats.
The foundation: springs hold the bike up, damping controls the motion
Even for experienced tuners, it’s worth stating this plainly because it prevents the most common stability mistake: trying to fix a spring problem with clickers.
Springs set ride height under load and determine how much force is required to move the wheel. Damping sets the speed of that movement—how quickly the suspension compresses and extends.
A concise way to frame it is the “moves easily one way, controls the return” principle: many motorcycle setups want the shock to compress relatively freely to absorb impacts, then extend in a controlled way to avoid oscillation. CalSci’s suspension overview captures that tradeoff well in CalSci’s motorcycle suspension overview.
What this means for high-speed stability
If the spring rate (or effective rate through linkage) is wrong, you’ll see geometry drift and inconsistent tire loading.
If damping is wrong, you’ll see timing problems: delayed settling, pack down, harshness over high-frequency bumps, and temperature sensitivity.
Design lever #1: damping architecture (bleed vs shim) and why it matters for stability
Tuners don’t just tune “damping.” They tune the shape of damping force across shaft speed.
Most rear shocks generate damping by forcing oil through restrictions. The restrictions are typically a combination of:
Bleed/needle circuits (small, low-flow paths)
Main piston/shim stacks (flexible valves that open progressively as pressure rises)
Why it matters at speed
High-speed stability is often decided by what happens in the transition zone:
The bike is loaded (drive or braking), so you need support.
The surface adds high-frequency inputs (ripples, seams, curbing).
The tire needs compliance to maintain contact.
A shock that only has “more/less” damping without a well-shaped curve forces you into compromises: either too soft (wallow) or too stiff (harshness/chatter).
Design lever #2: compression and rebound damping at high speed
In damper terminology, “high-speed” and “low-speed” refer to shock shaft speed, not vehicle speed.
Low-speed compression (LSC) influences chassis attitude changes: squat, pitch rate, and how the bike settles with throttle/brake transitions.
High-speed compression (HSC) influences response to sharp bumps and high-frequency inputs: ripples, curbing, square-edge hits.
Rebound damping controls how quickly the rear returns after those events, which is often the difference between “settled” and “busy.”
Stability mapping: symptoms → what to inspect
If the bike squats and keeps settling on throttle
Start by inspecting LSC support (and spring/ride height):
Too little LSC can allow continuous geometry collapse.
Too much LSC can create a harsh “skatey” feel over small bumps because the rear won’t move.
If the bike chatters on corner exit over ripples
Look at HSC behavior and cavitation/heat consistency:
Too much HSC can “kick” the tire off the surface.
Too little HSC can blow through travel and then rebound into instability.
⚠️ Warning: Don’t chase chatter with rebound first. If the tire is being unloaded by harsh compression response, slowing rebound just traps the problem (pack down).
Design lever #3: rebound control as “stability timing,” not comfort
Rebound damping is the shock’s ability to manage how the spring releases energy. If rebound is too fast, the rear can extend aggressively after a bump or throttle roll-off, making the bike feel loose. If rebound is too slow, the shock can pack down—not recovering between successive bumps—reducing available travel and raising effective spring force.
CalSci describes both ends of that failure mode (loose/disconnected vs pack down) in its motorcycle suspension overview.
Workshop check: two questions that usually find the problem
Does the bike recover between events? (curb → bump → bump)
Does temperature make it worse? (session 1 OK; session 4 unstable)
If the answer is “no recovery” and “yes temperature,” you’re often dealing with a combination of rebound timing and damping consistency (heat/cavitation), not a single clicker setting.
Design lever #4: oil volume, reservoir design, and damping consistency (the chatter multiplier)
Stability at speed is as much about repeatability as it is about “ideal” settings.
When a shock works hard, oil heats, viscosity shifts, and pressure zones can drop low enough to form bubbles (cavitation). Cavitation is a classic cause of inconsistent damping—especially when the system momentarily loses effective damping because the oil column contains compressible gas. In other words: shock cavitation shows up as repeatability problems, not as a single obvious “bad setting.”
A clear explainer is Bikerumor’s cavitation explainer (2017). While that piece is written in a bicycle context, the mechanism—pressure drop, bubbles, inconsistent damping force—maps directly to damper physics.
Why this shows up as high-speed instability
Damping becomes inconsistent as the session goes on.
Chatter that wasn’t present early appears later.
“Good” clicker settings suddenly feel wrong.
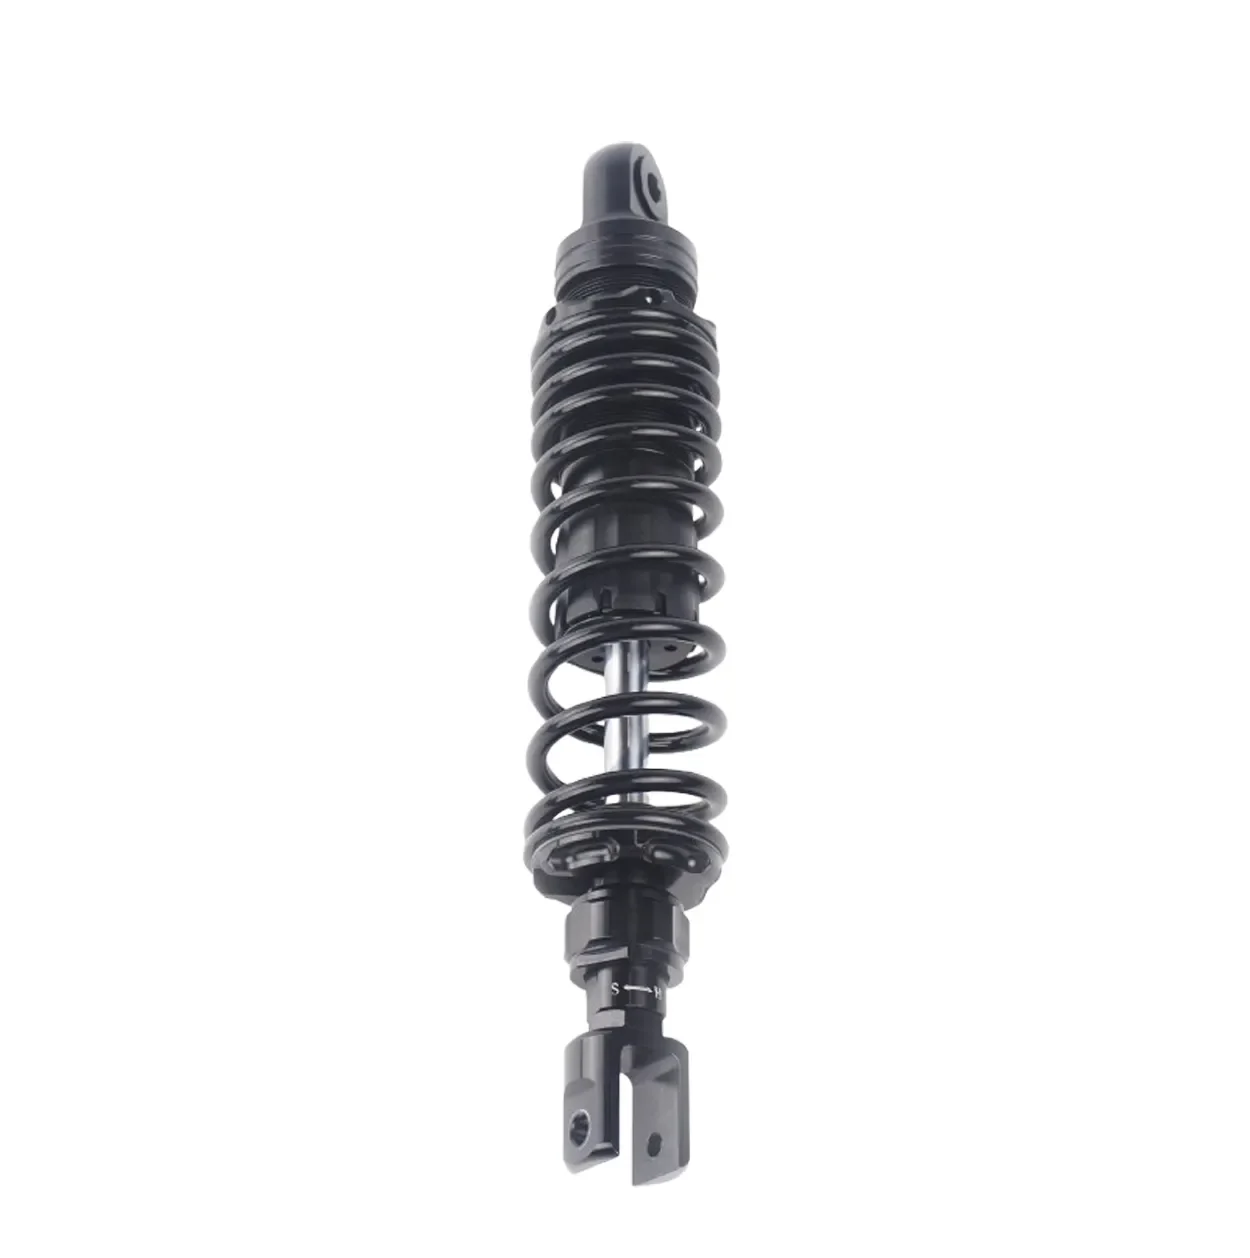
Design choices that help (and what they cost you)
More oil volume: better heat stability, slower fade.
Reservoir (piggyback/remote): manages displaced oil, supports pressure management, and typically improves consistency under sustained load.
Better separation of circuits: lets you add support without turning every bump into a spike.
None of these automatically makes a bike stable—but they create the tuning headroom required to get stable.
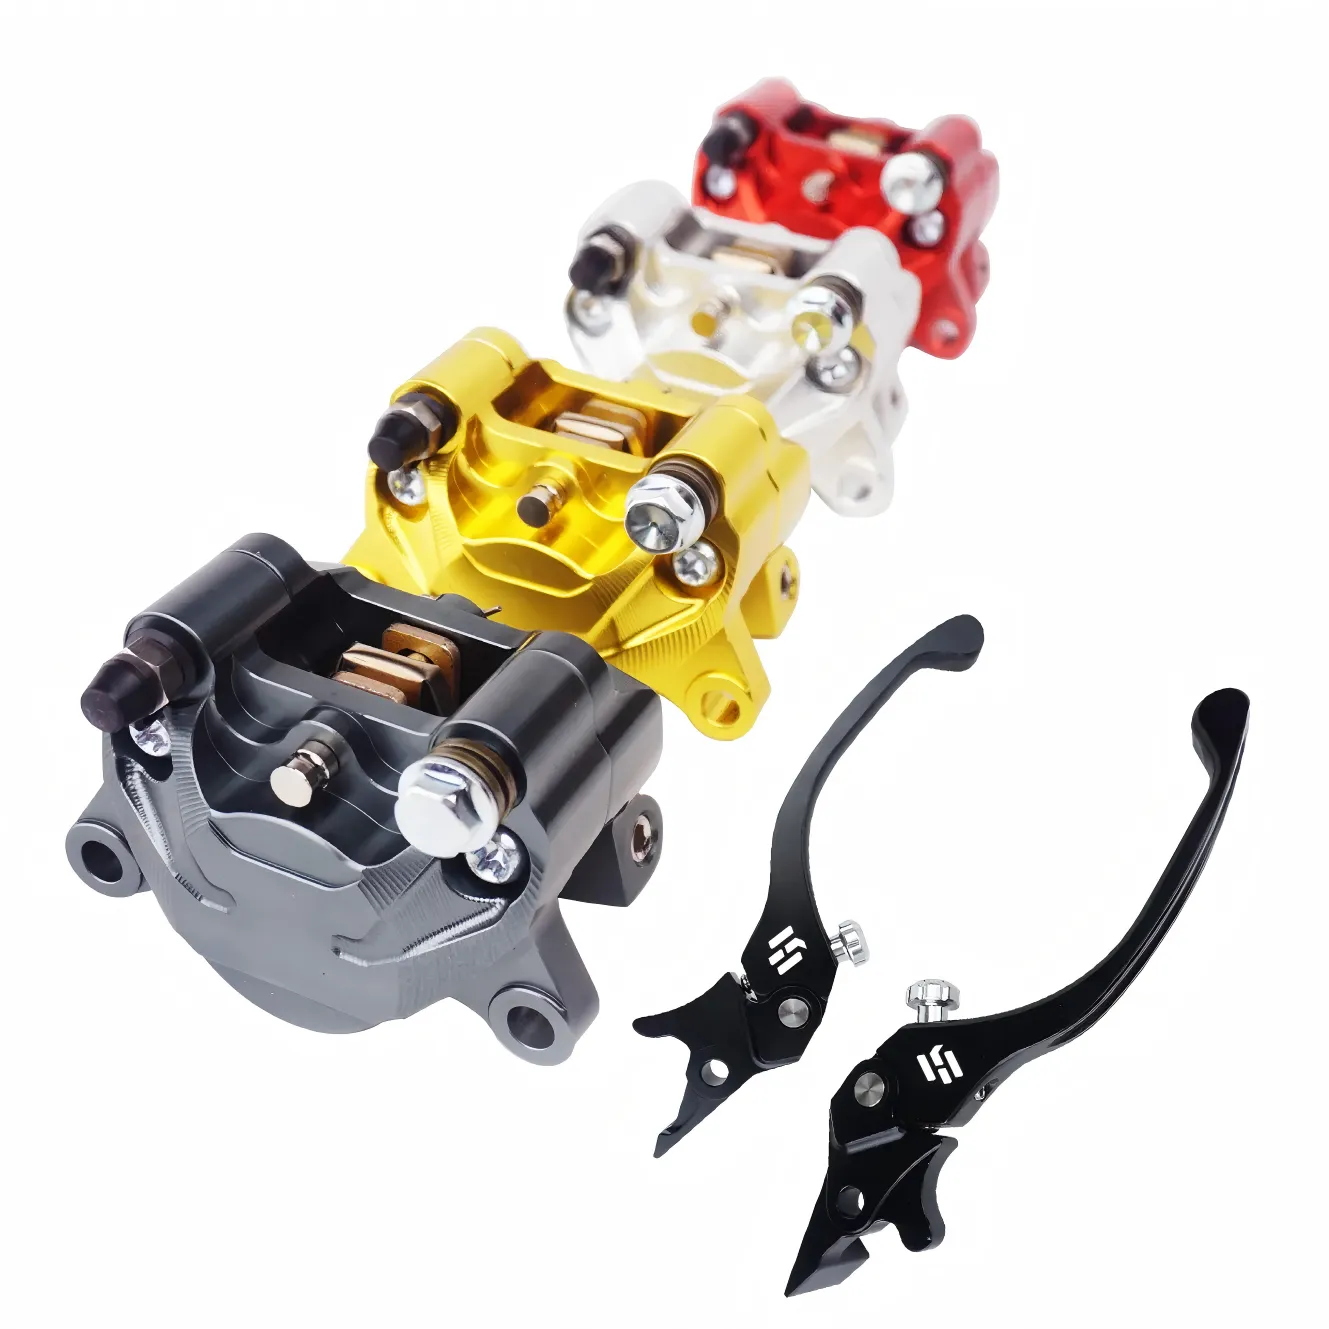
Design lever #5: adjuster separation and usable range (tuner reality)
From a workshop perspective, the best performance shock is often the one that:
Has repeatable adjuster effects (each click does something predictable)
Provides enough range to support different riders and tire constructions
Doesn’t force you to “over-tighten one circuit” to compensate for a weak base valve
That’s why the adjustability ladder matters:
preload only
preload + rebound
preload + rebound + compression
More adjusters aren’t automatically better. But on high-speed stability problems (especially chatter and squat/pitch timing), having independent levers can reduce the compromise.
Rear shock tuning framework: squat, pitch, chatter → likely causes → what to change
Use this as a quick “shop wall” logic map. It’s not meant to replace data logging or dyno curves; it’s meant to shorten the first iteration.
1) Squat and line-widening on throttle
Typical feel: rear drops, trail grows, bike runs wide or won’t finish the corner.
Likely causes to inspect:
spring rate / preload / ride height
insufficient LSC support
rebound too slow causing pack-down mid-exit
First changes to try (in order):
verify sag targets and ride height baseline
add small increments of LSC (or add support in valving)
if the rear “sticks down” after bumps, reduce rebound slightly
2) Pitchy transitions (on/off throttle) that upset the bike
Typical feel: bike takes a set late, then overshoots; feels nervous mid-corner.
Likely causes to inspect:
LSC too soft (moves too freely)
LSC too stiff (won’t settle, then breaks traction)
mismatch between spring support and damping timing
First changes to try:
adjust LSC for rate of attitude change, not just “firmness”
check that rebound isn’t masking a spring issue
3) Rear chatter over ripples / curbing at speed
Typical feel: high-frequency vibration; tire feels like it’s skipping.
Likely causes to inspect:
HSC too high (harsh response)
cavitation/heat fade causing inconsistency
tire construction mismatch (stiff carcass + harsh HSC)
First changes to try:
reduce HSC slightly to regain compliance
verify shock is operating consistently through a session (service condition, gas charge, oil condition)
if adjuster range is exhausted, revise base valve/shim stack for more compliant high-speed curve
Where a performance shock earns its keep: tuning headroom and repeatability
For Kawasaki sportbikes that see sustained high-speed loading (fast road, track days, endurance sessions), the practical “performance” differentiator is not a marketing adjective—it’s whether the shock can:
maintain damping consistency as heat builds
provide independent adjustment to balance support vs compliance
be configured (spring/valving) to the rider/tire/surface rather than forcing compromise
That’s the difference between “stable for two laps” and “stable for the session.”
A practical example: how a manufacturer can support tuner-ready rear shock programs
When you need a shock program that’s configurable for different rider loads and usage patterns, it’s useful to work with a manufacturer that can supply an adjustability ladder and customization options without forcing a one-size-fits-all tune.
Kingham Tech outlines tiered rear shock programs and configuration options—including preload-only up through preload/rebound/compression adjustability and reservoir configurations—on the Kingham Tech rear shock absorbers page. For workshops, the key is that the program can be specified around spring rate, valving targets, length, and finishing/branding needs—while maintaining certified manufacturing and documented testing processes.
(Keep the expectation disciplined: the value is configurability and process control, not a universal “best shock” claim.)
Common misconceptions that create instability (and waste your time)
“High-speed compression is for high-speed riding.” It’s about shaft speed. You can trigger HSC on a slow bike over sharp edges.
“Chatter = add rebound.” If compression is unloading the tire, rebound changes can create pack down and amplify the problem.
“More adjusters means more stability.” A poorly shaped damping curve with many knobs is still a compromise.
Next steps for workshops working on Kawasaki stability complaints
If you’re seeing recurring squat/pitch/chatter complaints on Kawasaki sportbike customer bikes, the fastest way to improve outcomes is to standardize your process:
baseline sag + ride height
evaluate LSC support vs compliance over ripples
verify consistency across session temperature (fade/cavitation symptoms)
only then commit to valving changes
If you want a manufacturer conversation around a tuner-oriented rear shock program (adjuster configuration, spring rate range, valving targets, and reservoir options), start with Kingham Tech and request the application spec pack.