


Many riders prioritize power and performance, yet often neglect the single component most critical to comfort, safety, and handling: the suspension system. If you’ve never adjusted your motorcycle’s shock absorbers, you are simply accepting a compromise—the factory settings are not precisely tuned for you.
A properly adjusted suspension smooths out road imperfections, maintains stable tire contact for superior grip, and fundamentally makes your ride better. Don’t overlook these critical settings! This guide provides the clear, simple steps needed to dial in your suspension.
Key Takeaways
Adjusting your motorcycle’s shocks makes your ride more comfortable and safer.
Learn about ‘preload’ and ‘sag’ to properly set up your suspension for your weight.
Measure ‘sag’ carefully to make sure your tires stay on the road and handle bumps well.
Always make small, incremental changes to your suspension settings and avoid guesswork to get the best ride.
Why Change Your Shocks?
Changing your shocks helps your ride. Your motorcycle works better. You feel more comfortable. You are safer. Many riders do not know this.
More Comfortable Ride
You want a smooth ride. Good shock settings do this. Your back shock softens bumps. It keeps your bike steady. This makes riding smooth. Good shocks make you less tired. This is true for long rides. You can change preload for weight. This includes luggage. You can change compression damping. This controls how shocks push down. Adjusting rebound stops bouncing. It keeps tires on the road. Think about your weight. Think about your luggage. These need special changes. You can fine-tune settings. Do this on long trips. It helps with rough roads. It fixes wobbles.
Better Handling
Good shock tuning helps your bike turn. You feel more sure. You get better control. Your ride is safer. Good tuning stops wheelspin. This is when you speed up. It helps turning. You can steer easier. It fixes oversteer. This is if the back is too high. It fixes understeer. This is if the front is too high. You get easier control. You get more grip. Less shaking happens. Power delivery gets better. Your bike moves faster. Rebound damping stops bouncing. Ride height changes steering. It changes handling.
Safer on the Road
Good shock changes lower crash risk. It stops you from losing control. Your handling gets better. You stay more focused. Your tires touch the road well. Good shocks soak up bumps. It keeps you steady when turning. It stops wobbling on bad roads. This soaking up also makes you less tired. You stay focused. You react faster. Good shocks make tires touch fully. This is key for braking. It is key for steering. This is true on rough roads. It is true on wet roads. Not checking shocks can cause crashes. Small problems become big ones. You should check your shocks often. Look in your manual for service times. Look for odd noises. Look for leaks. These are early signs of trouble. Look at your forks. Look at your shock absorbers. Check for oil leaks. Leaks mean you need a pro. This guide helps you avoid these problems.
You need to know some key terms. These terms help you understand your motorcycle’s suspension. They include preload, sag, compression damping, and rebound damping. Each part plays a big role. It changes how your bike rides.
Preload Explained
Preload is how much you squeeze the spring. You do this before you sit on the bike. It squeezes the spring. This happens when your shocks are fully out. This change helps your suspension. It stops it from hitting bottom. It also stops it from going too high. Preload keeps tires gripping. It makes handling better. It gives a cushion. This cushion makes sure your suspension uses its full range. It does this without hitting its limits. You change preload for your weight. You also change it for any bags you carry.
Sag Defined
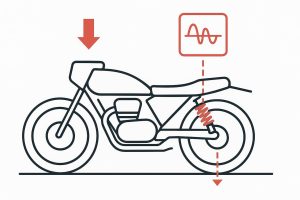
Sag is how much your suspension squeezes down. It measures the distance. This is from the fully out position. This squeeze happens from your bike’s weight. It also happens from your weight.
Definition | |
|---|---|
Sag | The squeeze of each suspension (front and rear). This is from its fully out position. It is due to the bike’s weight and the rider’s weight. |
Rider Sag | The suspension sag measured when the bike is still. The rider is fully dressed. They are in riding position. They are holding the motorcycle upright. |
Static Sag | The suspension sag measured when the bike is still, resting only on the bike’s own weight (no rider). |
Free Sag | The amount the suspension sags. This is without the rider’s weight. This helps you find springs that are too stiff. |
Good sag is very important because it keeps your tires gripping firmly on the ground, ensuring steady traction. Sag allows your suspension to work correctly, letting it squeeze over bumps and stretch into dips, which keeps your tires constantly touching the road surface. An ideal Rider Sag (about 25% to 35% of the total travel) is key to maximizing cornering grip and ensuring the suspension has full travel available. Changing sag also affects handling; for instance, more sag in the front can make your bike dive into turns faster, while less sag can make it more steady. This Motorcycle Shock Absorber Adjustment Guide helps you set it right.
Compression damping controls how fast your suspension squeezes down. Rebound damping controls how fast it stretches out. You will learn more about these later.
Before You Adjust Shocks
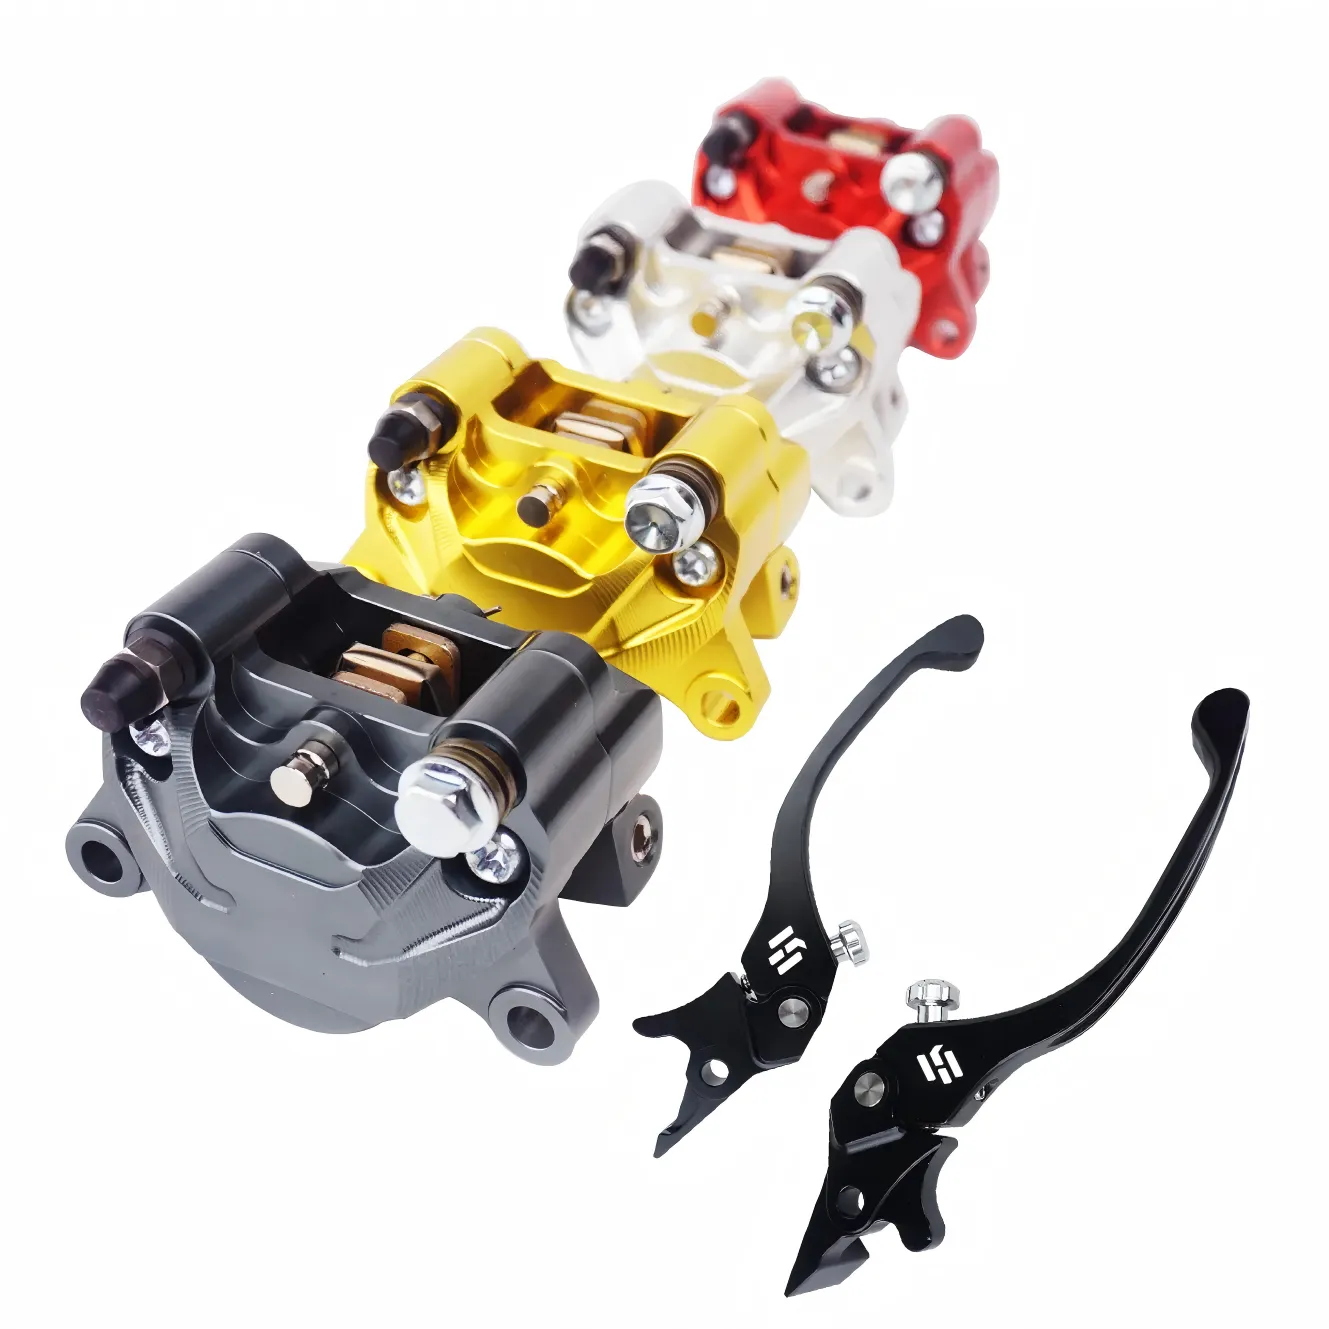
You need the correct tools. A screwdriver or a wrench is often needed, and your motorcycle’s manual will tell you the required sizes. For rear shock adjustments, a C Spanner (often 70-100mm) or specialized Rear Adjusting Suspension Spanners are extremely helpful. A digital tool or high-quality measuring stick is highly recommended for quickly and accurately measuring sag and setting preload on both the front forks and rear shocks.
Get Your Tools
You need the correct tools. A screwdriver or a wrench is often needed. Your motorcycle’s book tells you sizes. For back shock changes, a 70-100mm 2 piece C Spanner-Rear Shock Adjusting set helps a lot. You might also need Rear Adjusting Suspension Spanners. A digital tool, like the Motool, helps find settings fast. This tool is good for measuring sag. It helps set motorcycle preload on front forks and back shocks.
Check Your Suspension
Look at your suspension for damage. Check specifically for fluid leaks from the shocks (which indicate bad seals), dents, bent parts, or rust on the shock body. Watch for signs of wear such as excessive bouncing (shocks are old) or wobbling in turns. Listen for any knocking sounds that occur on bumpy roads. Also, check your tires: uneven tire wear can signal poor shock control or incorrect rear suspension settings. If your rear wheel feels loose, check the swingarm components.
Get Your Motorcycle Ready
Getting ready helps measure sag right. First, get two friends to help. Put your motorcycle on a stand. This makes the back suspension fully open. Make sure your gas tank is full. This adds real weight. You, the rider, must be ready. Wear all your riding clothes. Sit on the bike. Put your feet on the pegs. Hold the handlebars. Your friends will hold the bike up. This way, you measure sag like you are riding.
Setting Your Motorcycle Sag
Setting your motorcycle’s sag is a crucial step. It directly impacts how your bike handles. It also affects your comfort and safety. You will measure sag in two ways: static sag and rider sag.
Measuring Static Sag
Rider Sag is the critical measurement of how much your suspension compresses with your weight on the bike. It directly impacts your bike’s handling, comfort, and safety. A general recommended setting for Rider Sag is typically between 25-30% of the total suspension travel for the rear shocks.
To accurately measure motorcycle Rider Sag, follow these steps:
Prepare the bike (L1 – Full Extension): Place your motorcycle on a stand. Both wheels must be off the ground. Mark a vertical reference point on the fender or side panel. Record the distance from the rear axle to this mark. Call this L1. (If you use a Sag Master, insert its pin into the hollow rear axle and zero it at this mark.)
Position the rider: For road bikes, sit in your standard riding position. You must balance the bike yourself. Do not lean against walls or have someone else hold you. Avoid gripping the bike with your knees or putting weight on the handlebars. (Note: This entire measurement is for RIDER Sag.)
Take the first measurement (L2 – Compression): You must remain still and balanced. Compress the rear suspension slightly (about 15mm or 1/2 inch), and then slowly release it back up. Read and record the distance to the reference mark. This is L2. Do not bounce the bike, as this will give you inconsistent readings.
Take the second measurement (L3 – Extension): Lift the rear of the bike slightly (about 15mm), and then slowly let it come down. Ensure you remain still and record the distance. This is L3.
Calculate Rider Sag:
For Sag Master: Average the two measurements you took in steps 3 and 4. This gives you the final sag number.
For Tape Measure: Calculate sag using this formula: Sag=L1−((L2+L3)/2). The difference between L2 and L3 is the ‘Stiction Zone.’ This shows friction in the linkage. If it is more than 4-5mm, the linkage may need attention.
Measuring Rider Sag
Rider sag measures how much your suspension compresses. This happens with your weight on the bike. It is a critical setting for proper handling. For dirt bikes, rider sag should generally be about one-third of the suspension stroke. Additionally, front sag is usually 150 percent of the rear sag.
For motorcycles, the manufacturer’s recommended sag is usually 25-30% of the total suspension travel. A general recommended sag setting for motorcycles typically falls between 97mm and 110mm. You want to achieve this range. This ensures your suspension works correctly. It also provides the best comfort and control.
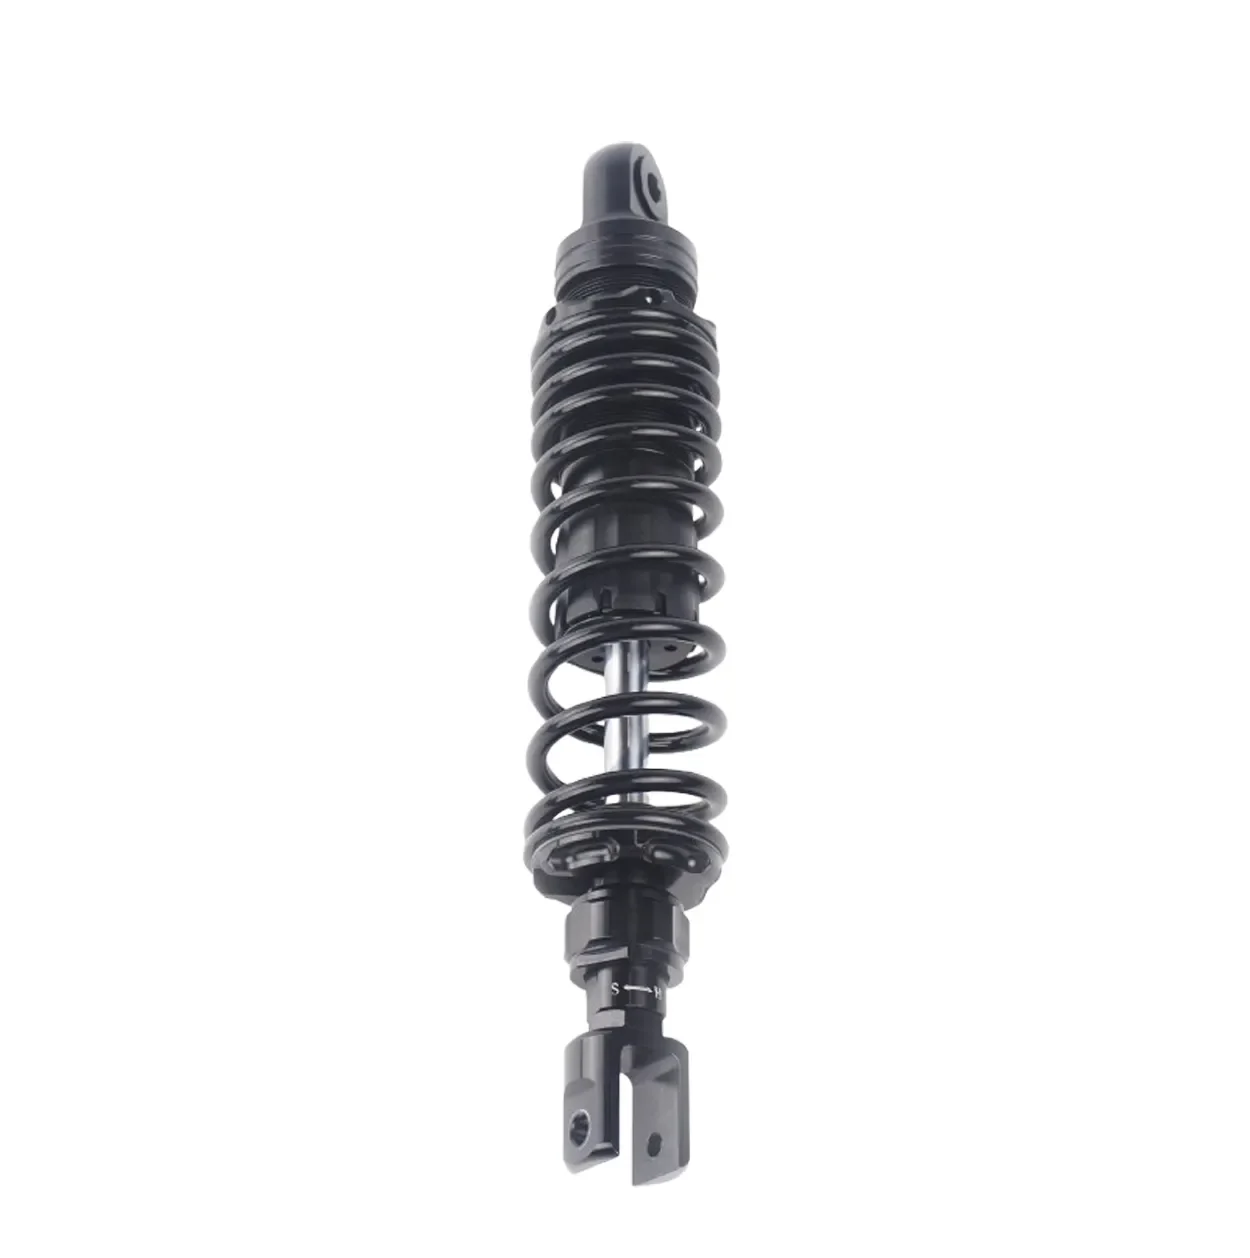
Adjusting Rear Preload
Adjusting rear preload is how you set your sag. Preload is the initial compression of the spring. You change it to match your weight. You also change it for any luggage or a passenger. This maintains the correct sag.
Preload’s Role: It compensates for added weight. This includes luggage or a passenger. It helps maintain correct sag.
Too Much Rear Sag: This makes your bike feel stable at high speeds, but it can also cause your bike to feel sluggish and slow to turn in corners.
Too Little Sag: This effectively lowers the front end and quickens turn-in, but it may lead to an unstable or wobbly feeling at higher speeds.
You can adjust rear preload in a few ways:
Threaded Adjuster with Pin Wrench:
Support your motorcycle on a center stand. Or lift the rear to reduce spring load.
Fully insert a pin wrench into the radial holes of the threaded adjuster.
Rotate clockwise to increase preload. This raises the rear. Rotate counter-clockwise to decrease it.
Test ride and fine-tune as necessary.
Remote Preload Adjuster:
This system has an easily accessible knob.
Turning the knob adjusts the spring preload. It typically offers about 10mm of range.
Decreasing rear spring preload addresses a chassis attitude where the nose feels low and the rear feels high. While this fine-tunes steering geometry, be aware that too much change can lead to instability. Conversely, increasing rear preload helps resolve excessive front-end weight transfer during hard braking, which prevents the rear end from feeling loose or swapping side-to-side. This Motorcycle Shock Absorber Adjustment Guide helps you make these changes.
Common Adjustment Mistakes
You now understand the basics of suspension. You know how to set sag. But many riders make common mistakes. These errors can make your ride worse. They can even make it unsafe. Avoid these pitfalls. You will get the best performance from your motorcycle.
Over-Adjusting
You might feel tempted to make big changes. Do not do this. Adjusting your suspension requires patience. You should make small, incremental changes. For example, when you adjust fork spring preload, move it in 5mm steps. For rear sag, also use 5mm increments. If you change triple clamp offset, use 2mm steps. Making radical adjustments can throw off your bike’s balance. One change affects another part. Always know your starting point. Follow recommended guidelines for small changes.
Making too many changes at once causes problems. For instance, too much rebound makes your bike feel soft on bumps. It can cause side-to-side movement. Your rear tire might push through corners. This puts too much weight on the front. If rebound is too slow, your ride feels harsh. Bumps feel harder. Your rear wheel loses traction on hard ground. The front end might feel too high.
Too much sag makes your bike feel harsh over square edges, often leading to a heavy front end and a tendency to oversteer in corners (sometimes called a ‘stinkbug’ balance). Conversely, if sag is too low, the front end feels vague with less cornering bite. This also reduces rear wheel traction when you accelerate and causes excessive pitching during deceleration.
Excessive stiffness makes your ride harsh. The fork might deflect when it is light. You lose front wheel traction. Your bike pushes through the middle of corners. The front end might ride too high. This makes the rear shock feel low. It reduces rear wheel traction. If your suspension is too soft, the fork dives too much when you brake. The front end feels low. The rear end might kick up over bumps. You get too much pitching. Your bike oversteers in corners. It feels harsh because the fork rides in a stiff part of its travel. The fork bottoms out more often.
Neglecting the Front Suspension
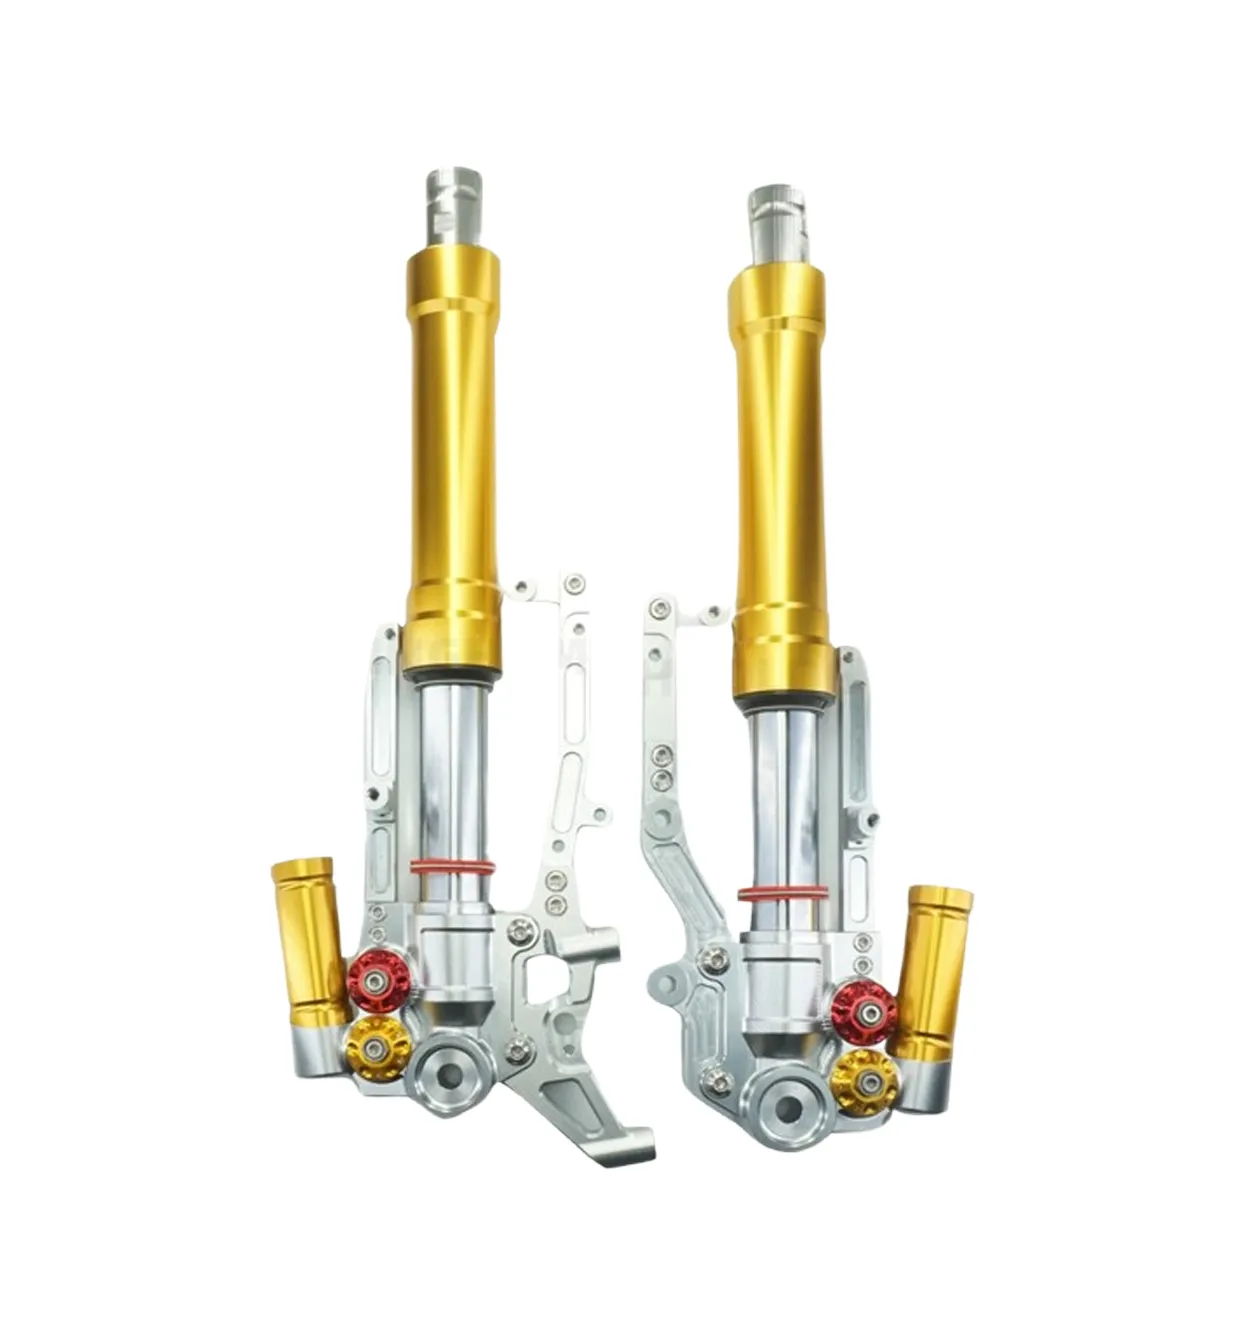
Many riders focus only on the rear shock. They forget the front forks. Your front suspension is just as important. It controls steering. It handles braking forces. It absorbs bumps from the front wheel. Neglecting it leads to poor handling. It also affects your safety. A well-tuned front suspension works with the rear. This gives you a balanced ride. Modern front shock absorbers offer advanced features. These include dual or triple adjustability. Some even have high and low-speed compression damping. These features give you precise control. They improve your comfort and stability. You need to adjust both ends of your bike. This ensures optimal performance.
Relying on Guesswork
You should not guess your suspension settings. This leads to inconsistent results. It can even make your bike unsafe. Always use precise measurements. Follow your motorcycle’s manual. Use the sag measurements you learned earlier. Write down your settings. This helps you track changes. It lets you return to a good setup if needed. Guesswork means you do not know what works. You do not know what does not. A systematic approach gives you confidence. It ensures your bike performs its best.
You now know how to correctly adjust your motorcycle’s suspension settings. Mastering concepts like sag and preload ensures a ride that is both more comfortable and significantly safer.
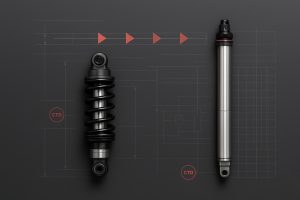
For riders looking to maximize performance, Kingham Technology is a proven manufacturer, holding 78 patents in suspension innovation. Committed to quality and utilizing precision manufacturing, Kingham’s range of high-quality shock absorbers will provide a noticeable improvement to your motorcycle’s ride and handling.
FAQ
Why is adjusting motorcycle suspension important?
Proper adjustment makes your ride more comfortable. It improves handling. You will also be safer on the road. It helps your tires grip better.
What is “sag” and why do I need to measure it?
Sag is how much your suspension compresses. This happens with your weight on the bike. Measuring sag ensures your tires stay on the road. It helps your bike handle bumps well.
What happens if my suspension is too stiff or too soft?
Too stiff means a harsh ride. Your tires might lose grip. Too soft means your bike dives when braking. It can bottom out easily. Both reduce control.
Can I adjust my motorcycle’s suspension myself?
Yes, you can. This guide provides basic steps. You need the right tools. Always follow your motorcycle’s manual. Start with small changes.